
As an entrepreneur or a business owner, you don’t really have to be involved in all these process flow. With Shopify dropshipping, you’re free from inventory management headaches. When your store sells an item, the order is sent to the supplier, who then ships it directly to your customers. You don’t have to touch the product, and you only pay for what you sell. Here are some guides on how to dropship on Shopify:
Find Your Niche or Products
One of the biggest hurdles most new Shopify dropshipping businesses face is picking a niche and products to focus on. The first step or one of the steps in the planning of a successful Shopify dropshipping business is to find the niche that suits you. This involves in-depth knowledge of what you’re selling and recognizing your target audience. Many times, it is recommended to choose a niche that you have passion for. Remember, if your customers have any questions regarding your products, they might likely ask you first.
Naming Your Shopify Dropshipping Store
Since you have probably found a niche by now, another step would be the naming of the Shopify dropshipping store. When choosing a name for the store, it is essential to keep it simple, creative, and it must be memorable. The name of the store must be formed in such a way that it helps in its own way to attract customers. Also, business name generator can be a great tool in creating unique names for the store.
Create A Shopify Account
Now it’s time to register an account with Shopify. To create an account, head to their website and click the “Get started” button. Once you enter your email, you’ll be prompted to set a password and name your store (which you have done this before). After you submit, there will be a few forms to fill out. Also, Shopify will ask a bit more information like if you’re already selling a product and your address.
Add Products
The integration of apps like Oberlo has made adding products easier. To use the app for finding products, you can click the “Products” button on the left-hand side of your dashboard. Then select “More Actions,” and click “Find more products to sell.” Upon making the clicks, the app interface will show up where you can easily search for products and their suppliers. After the selection on the product page, you’ll see the supply and shipping cost, along with a pricing field in which you can input your retail price. When you’re done, click the “Add product “ button, and the item will be added to your store.
Editing Product Details
Go through each product, and edit its item details to a personal description. This is why it’s good to understand and have the knowledge of most products you are selling. Some products are stuffed with different keywords, and they need modifications. Editing the product details makes it more appealing and shows the originality of the store.
Designing the Store
When it comes to designs, Shopify does have a lot of options. You can visit their online store, and go to the theme section to see some selections. If you see anyone you desire, installation is not hard, as you can click on the listing and then the Add to theme library button. It is crucial to choose the theme for your store wisely, and be professional about it.
Adding Pages
Yes! These pages are vital for any online store. With these pages, visitors or customers can know all there is to know about your store. These pages are the about page, contact page, shipping and returns, FAQ page, among others. To create these pages, click the “Pages” link on the left-hand menu of your Shopify, then click “Add Page.”
Adding a Domain
The default URL for any Shopify store is https://YOUR-STORE-NAME.myshopify.com/. But does it look appealing? After setting all your store up, it is a great idea to add a domain name. By doing this, your store name appears more professional, easy to remember, and appealing. Adding a domain is quite easy with Shopify. It can be done in the domain settings under “Online Store” on the left-hand menu of your Shopify backend.
Setup Customer Support
Nothing can be compared to effective customer service. There will always be questions from your customers. If a customer needs more details about a product and couldn’t find it in the store, his next action might probably be contacting your support. Therefore, you need to make yourself available to customers always. A contact page can do this job, while you can also leverage tools like ZenDesk for this purpose.
Setting Up Payments for Your Shopify Dropshipping
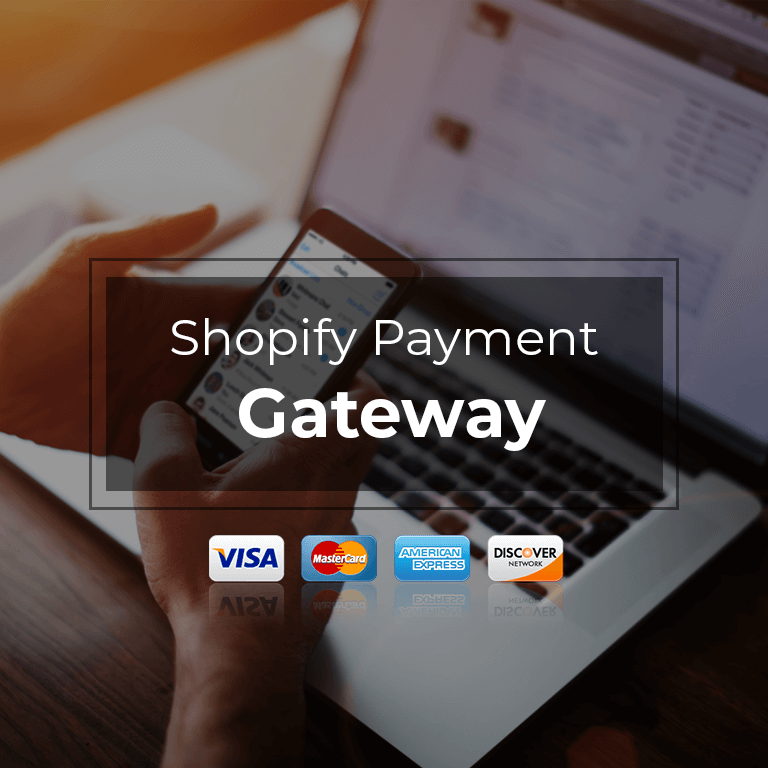
The essence of the whole store is to do what you love and of course, make some money from it. To set up the payment, go to your main Shopify settings, and then to the option of Payment providers.By default, Shopify connects your store with PayPal Express Checkout, and all payments are matched with the associated email address that you used when registering with Shopify. If this email is not what you would like to use for payment, it can be changed by deactivating and activating back. This action prompt you to enter a different email instead. In addition, Shopify allows the option of third-party payment providers.There you have it! Above are the ultimate dropshipping guides needed to start and make a wave in the Shopify dropshipping business. Getting the best results from your Shopify dropshipping business requires following the right procedures. Choose a niche, choose a name and create a Shopify account, and make all the necessary settings. When all these steps or process flow are adhered to correctly, you’ll be able to run a profitable Shopify dropshipping business in no time.Contact us today at Fulfillman to know more about the Shopify dropshipping business. Our dedicated team will be available to speak with you and provide suitable answers to your questions and concerns. We guarantee you excellent services.
Call Fulfillman Today!
Contact us today at Fulfillman to know more about the services. We are experts in Global Fulfillment, China Sourcing, Dropshipping, Third Party Logistics, and many more. Our dedicated team will be available to speak with you and discuss your possible dropshipping options. Our experts will provide suitable answers to your questions and concerns. We guarantee you excellent services.
